What if you could witness three uniquely coloured beaches from a single, breathtaking vantage point? This Padar Island Hiking Guide unlocks the secrets to one of Indonesia’s most spectacular natural landmarks.
The star attraction is a legendary summit view. From the top, you can see a stunning three-bay configuration with pink, black, and white sands meeting the sea. It’s a truly unforgettable sight and a photographer’s paradise.
This remarkable place is part of Komodo National Park, a protected UNESCO World Heritage Site. The journey to the top is an adventure that rewards every traveller with panoramic vistas.
Our manual provides the practical advice you need. Get ready for an incredible experience. We cover the best times to trek, how to capture amazing photos, and tips for a safe, enjoyable visit.
Key Takeaways
- Discover the famous viewpoint showcasing three bays with distinct pink, black, and white sands.
- Learn how to prepare for the trek to the summit for the best possible experience.
- Get practical photography tips to capture stunning sunrise shots and wide panoramas.
- Understand the importance of visiting as part of the protected Komodo National Park.
- Find out key logistical info on tours, timing, and what to bring for your trip.
- Appreciate the unique geological and ecological significance of this World Heritage site.
- Plan a safe and responsible adventure that maximises your time on the island.
Introduction to the Padar Island Hiking Guide
Nestled between its more famous neighbours in Komodo National Park lies a rugged landform with a view unlike any other. This destination sits at roughly 8.6539° S, 119.5683° E, positioned between Komodo and Rinca islands. The main goal for visitors is the 650-metre ascent to its famous summit.

Overview of Padar Island and Its Unique Landscape
The terrain here is truly distinctive. Dramatic sawtooth coastlines form three deep bays, creating an iconic trident shape from above. You’ll trek through dry savanna grasslands with exposed limestone and volcanic rock.
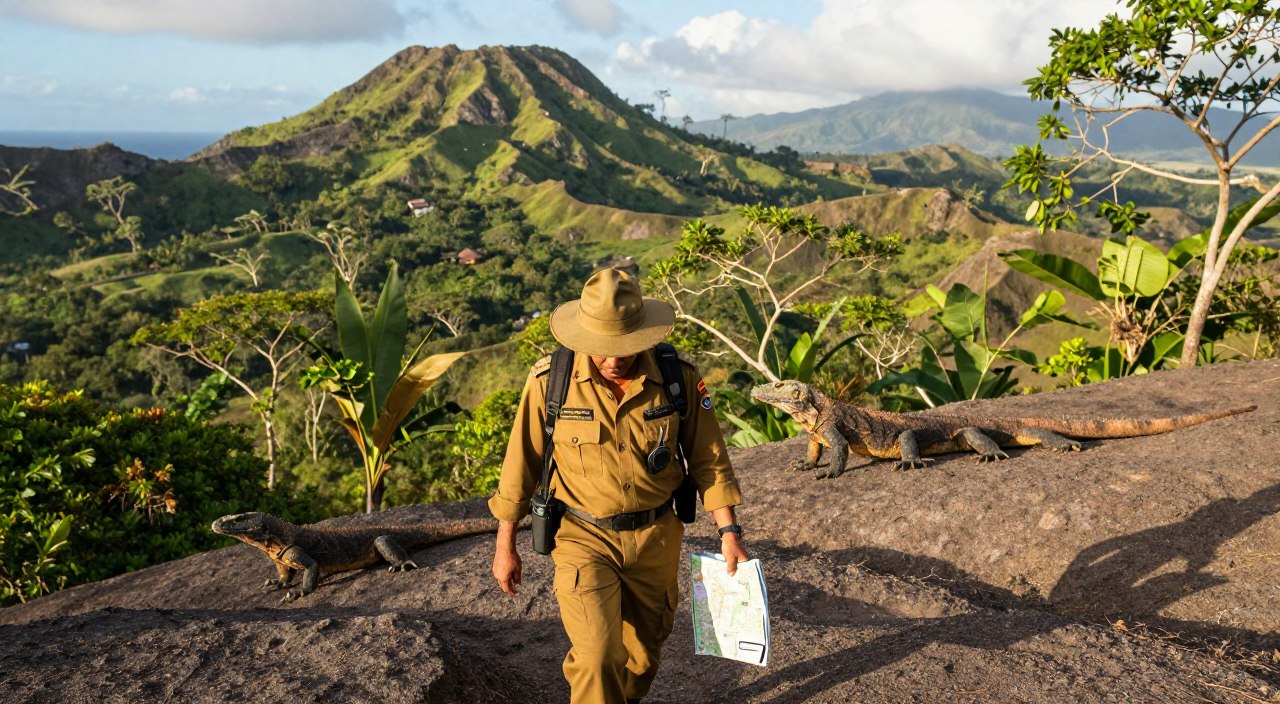
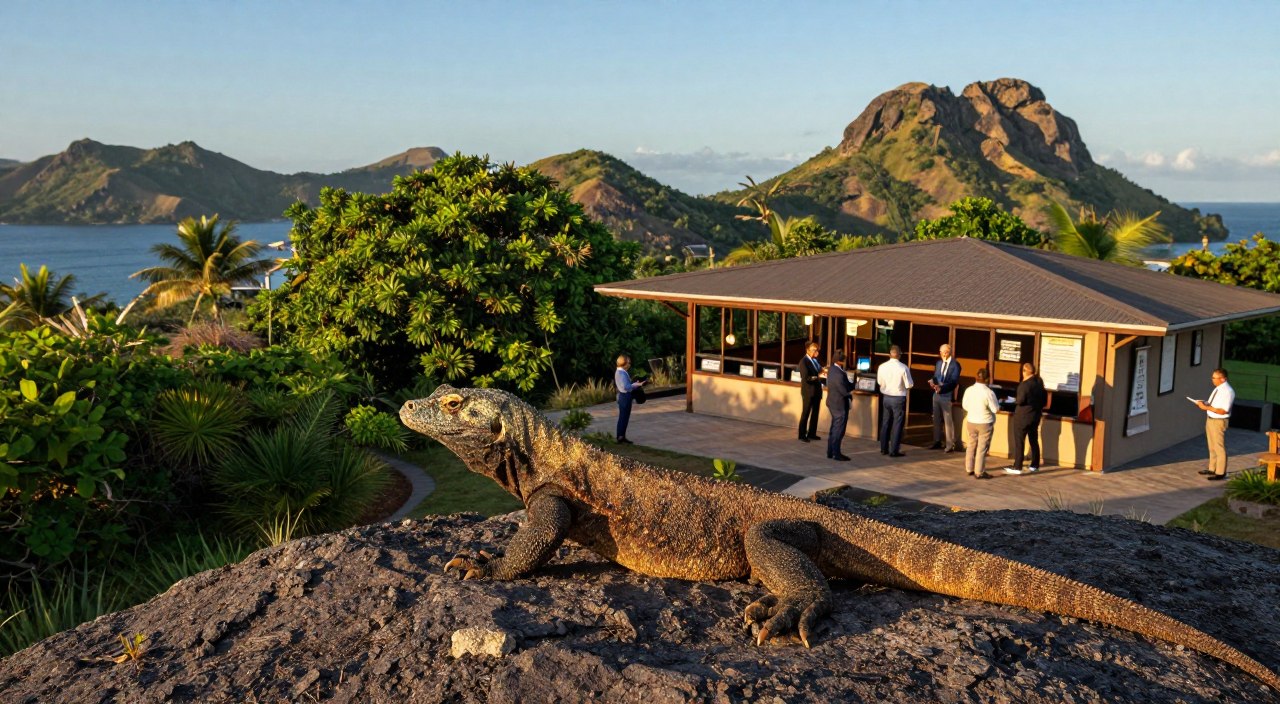
Shade is minimal, but the colour contrasts are spectacular. Golden-brown vegetation meets brilliant turquoise waters. Unlike nearby areas, Komodo dragons haven’t lived here since the 1970s.
| Feature | Description | Significance |
|---|---|---|
| Terrain Type | Dry savanna grasslands with limestone & volcanic rock | Creates minimal shade but stunning colour contrasts |
| Coastal Shape | Three deeply carved bays (trident formation) | Provides the iconic summit viewpoint |
| Vegetation | Lontar palms, acacia species, drought-resistant grasses | Adapted to arid conditions, turns golden in dry season |
| Wildlife Status | No Komodo dragons (extinct locally since 1970s) | Focus shifts purely to geological and scenic appeal |
| Beach Colours | Pink, black, and white sands from different sources | Result of unique geological diversity in one location |
Why This Guide is Essential for Hikers and Photographers
This location requires specific knowledge for timing and logistics. Independent travellers often struggle to find consolidated, current information for proper planning.
Photographers gain huge advantages. Understanding the optimal light and camera settings for high-contrast scenes is crucial. Good composition strategies leverage the amazing three-dimensional topography.
Trekkers need accurate details on trail steepness and exposure. This helps you honestly assess your fitness and pack the right gear for a safe ascent.
Our manual brings together the latest advice from recent expeditions. It provides Australian travellers with practical seasonal tips and cultural context for this UNESCO site.
Preparing for Your Komodo National Park Adventure
Maximising your experience at this world-famous site requires attention to two key areas: what you pack and how you book. Proper planning directly impacts your safety, comfort, and enjoyment.

Essential Gear and Attire for the Hike
Your essential gear list is non-negotiable. Carry at least one litre of water per person. Dehydration is a real risk on the exposed, shadeless trail.
Sturdy hiking shoes with aggressive tread are crucial for the loose volcanic rock. A reliable headlamp is also mandatory for pre-dawn starts.
Dress in lightweight, moisture-wicking layers. A windbreaker helps with the morning coolness. After sunrise, extreme sun protection is vital.
Tour Booking and Entry Fee Information
All visitors must pay a Komodo National Park entry fee. This is 500,000 Rupiah (about $50 AUD) in cash upon arrival.
You can join a day tour from Labuan Bajo for around $150 AUD. Multi-day liveaboard trips offer a more relaxed pace. Book in advance, especially for peak season.
This effort in planning saves time and stress later. It ensures you focus on the incredible views, not logistics.
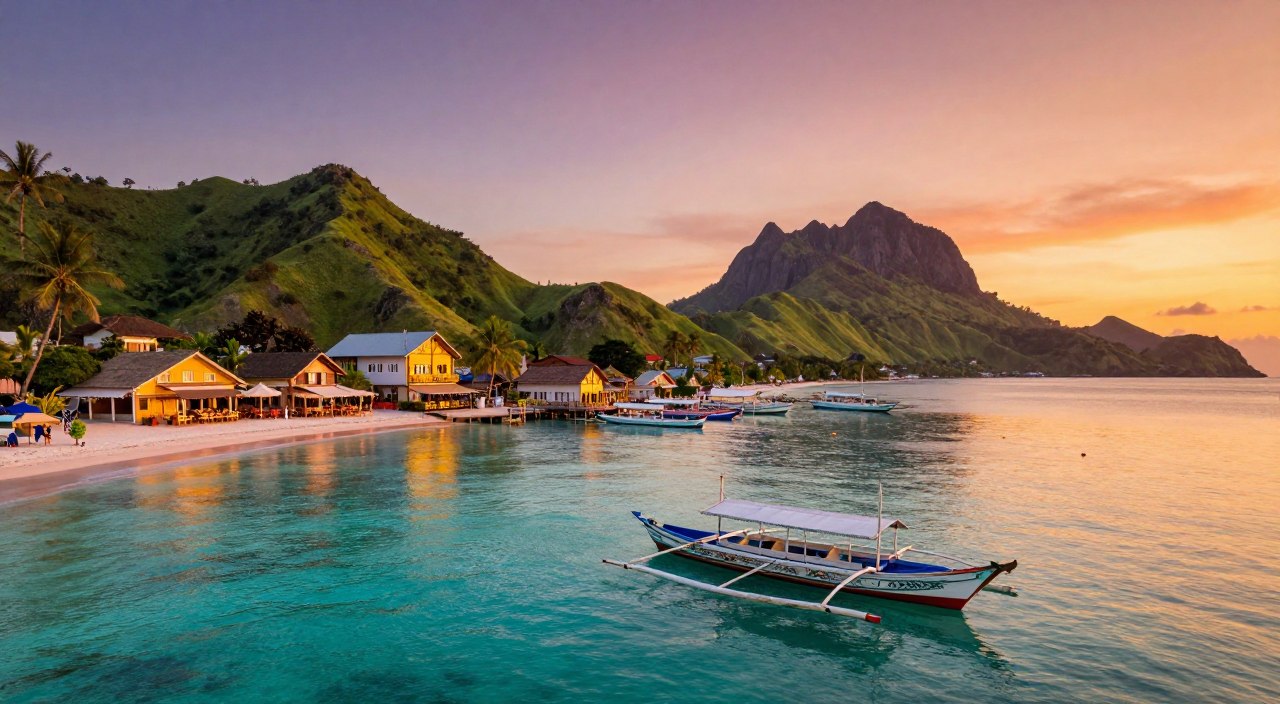
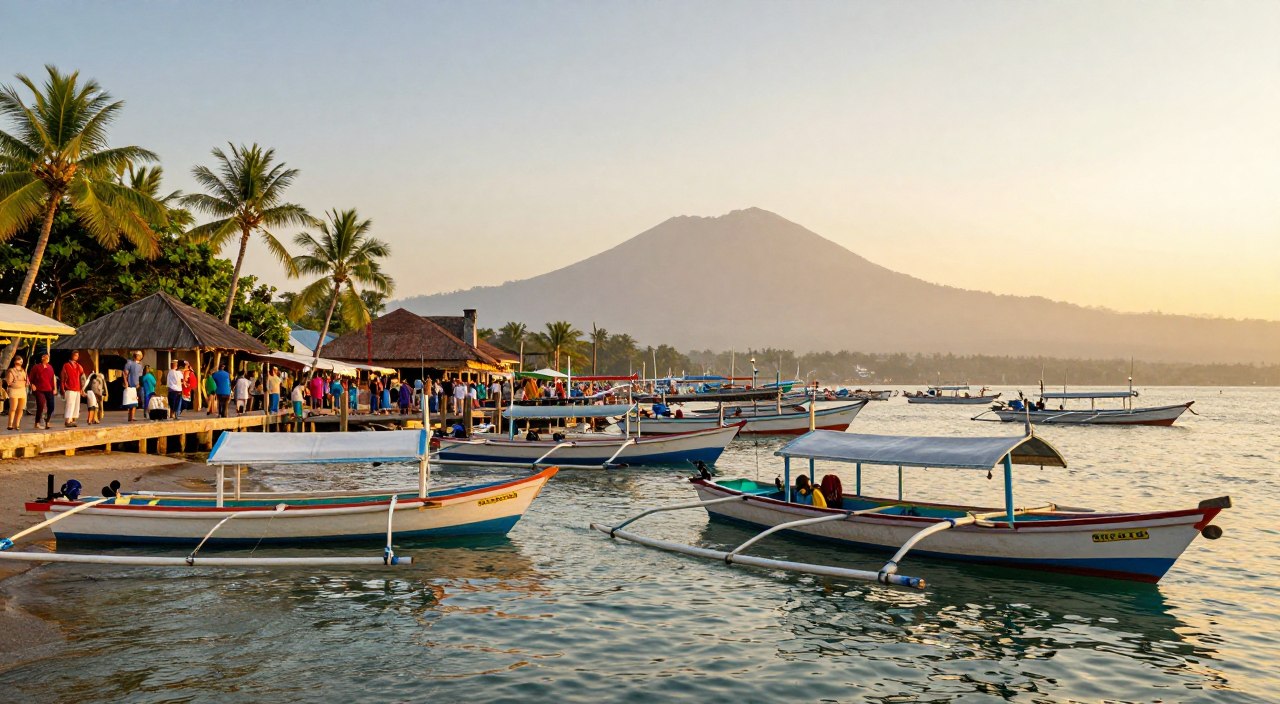
Getting to Padar Island from Labuan Bajo
Your journey to the legendary three-bay vista begins with a scenic boat ride from a bustling Flores port town. This destination lies within Komodo National Park and is accessible exclusively by sea.
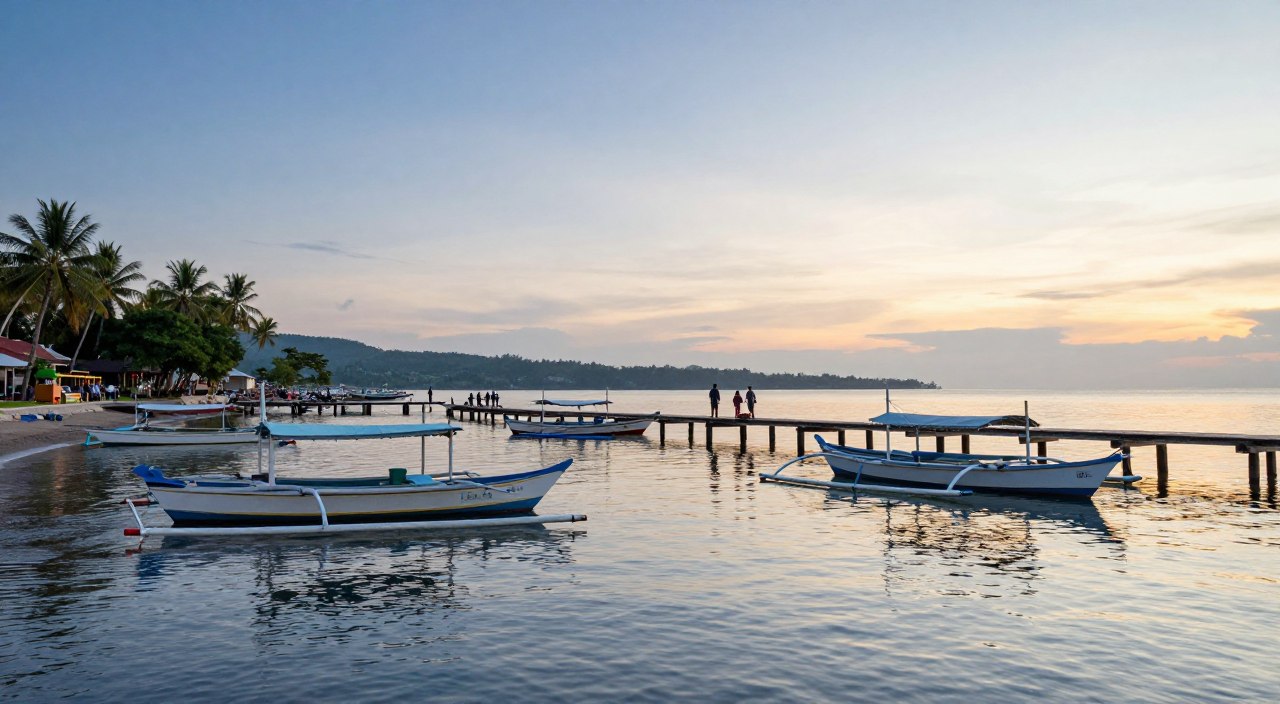
Most visitors first fly into Labuan Bajo. Daily flights connect from Bali, taking about one hour and fifteen minutes. From the harbour, the travel way to the island takes two to three hours by speedboat.

Day Trip Options and Liveaboard Experiences
Day tours offer a fast-paced option. They depart Labuan Bajo around 6:30 AM daily. The full trip lasts roughly ten hours.
It typically includes a sunrise climb, Komodo dragon viewing, and snorkelling. This budget-friendly choice costs about $150 AUD. The schedule is packed but efficient.
For a deeper experience, consider a multi-day liveaboard. These boat-based tours sail twice weekly. They position the iconic sunrise hike for the second morning.
You sleep anchored near Padar Island, allowing a very early start. The cost is higher, around $950 AUD, but includes meals and more destinations. Both options require a separate park entry fee paid in cash.
Booking through a reputable operator in Labuan Bajo ensures a smooth boat journey. This planning secures your spot on this unforgettable adventure.
Understanding the Padar Island Trail
The path to the famous triple-bay panorama involves a defined, moderately challenging climb. Knowing its specifics ensures you are prepared for the physical effort and can plan your timing effectively.
Trail Length, Incline, and Difficulty Levels
This route covers about 1.5 kilometres one-way. The total round trip is roughly 3 kilometres. Some route variations can extend the distance.
You will ascend between 170 and 340 metres from the beach. The average gradient is a steep 23%. Certain sections reach a 35% incline.
Most people reach the top in 45 to 60 minutes. Very fit individuals might do it in 20 minutes. Others may take up to 90 minutes.
The difficulty is rated moderate to challenging. It is not suitable for young children or those with mobility issues. The surface mixes dirt, stone steps, and loose volcanic rock.
| Metric | Measurement | Important Notes |
|---|---|---|
| One-Way Distance | ~1.5 km | Round trip is approximately 3 km |
| Elevation Gain | 170-340 m | Ascent from sea level to summit |
| Average Hike Time Up | 45-60 minutes | Varies significantly with fitness |
| Trail Gradient | Avg. 23% (up to 35%) | Steep, consistent incline |
| Difficulty Rating | Moderate to Challenging | Requires good physical condition |

Navigation Tips and Markers Along the Way
The main path is well-worn and easy to follow. Look for wooden steps and piles of stone (cairns). These markers are essential in pre-dawn darkness.
Your headlamp will be crucial for the early morning hike. Stay alert to stay on the correct route. The trail splits at several points.
A simple rule applies: take the rightmost branch at any junction. This leads directly to the main viewpoint overlooking all three bays. Left branches go to alternative lookouts.
Crowding is a major factor near sunrise. Dozens of hikers converge on the summit. Arrive 15-20 minutes early to secure a good spot.
There are no safety rails or ropes on this exposed ridge. Always watch your footing, especially when taking photos. Your safety depends on your own awareness.
Capture the Perfect Sunrise: Photography Tips
The pre-dawn climb culminates in a spectacular display of light over the distinctive trident-shaped coastline. To immortalise this moment, you need a solid plan for timing and technique.
Your photography success hinges on arriving before first light. The optimal view unfolds during a 30 to 40-minute window.
Optimal Timing and Lighting Conditions
Sunrise at this location occurs between 5:45 and 6:00 AM. Begin your ascent by 4:30 AM to secure a prime spot.
The magic starts with the pre-dawn blue hour, around 5:30 AM. Soft, diffused light then creates even illumination without harsh shadows. This is the best time to capture the landscape’s full depth.
As the sun approaches the horizon, warm tones paint the eastern sky. The west retains cooler blues, offering dual composition opportunities.

Camera Settings and Composition Strategies
The extreme contrast between bright sky and dark land challenges cameras. Use exposure bracketing to capture multiple shots for HDR blending.
For single shots, a graduated neutral density filter balances the light. Smartphone users should activate HDR mode and adjust the exposure slider.
Incorporate foreground rocks as leading lines. Position other trekkers in the frame to show scale. The iconic angle places the three bays diagonally.
Wind at the exposed summit can shake your camera. Secure your tripod or increase your ISO for faster shutter speeds. The golden hour after sunrise adds warm, textured light.
Understanding these sunrise and sunset conditions is key for stunning Padar Island images. Plan your morning around this fleeting spectacle.
Padar Island Hiking Guide
The journey to the top unfolds in distinct stages, each with its own character and challenges. A precise itinerary ensures you experience the legendary vista under optimal conditions, whether you’re on a liveaboard or a day excursion.
Detailed Itinerary and Hike Duration
For liveaboard tours, the adventure starts early. Boats anchor offshore around 3:30 AM. Guests transfer via dinghy by 4:00 AM and begin the trek by 4:30 AM.
The initial section is a gentle warm-up. You’ll walk through low scrub for about ten minutes. This lets your muscles adjust before the steeper climb.
After this, the path tilts upward noticeably. A sustained ascent of fifteen to twenty minutes follows. Most people pause every few minutes to catch their breath.

Around the midpoint, a flatter area offers the first major rest stop. You get early views back towards the anchorage. Beyond here, the trail gets rockier and more exposed.
The final approach involves navigating around large boulders. Choosing the rightmost path leads to the iconic viewpoint. Total ascent time typically ranges from 45 to 60 minutes.
| Stage | Approx. Duration | Terrain & Gradient | Hiker Focus |
|---|---|---|---|
| Warm-up & Access | 10 minutes | Gradual incline, low scrub | Adjust to darkness, warm up legs |
| Steady Ascent | 15-20 minutes | Noticeably steeper, dirt and rock | Establish rest rhythm, regulate breathing |
| Midpoint Plateau | Rest stop | Relatively flat area | Take first panoramic views, hydrate |
| Final Approach | 10-15 minutes | Rocky, exposed, around boulders | Careful foot placement, choose correct path |
Descent usually takes 30 to 45 minutes. It’s faster but requires care on loose gravel. The entire hike, including summit time, fits into a 2 to 2.5-hour window.
On a single day trip, you’ll complete this hiking in the mid-morning. You travel from Labuan Bajo first. This schedule means fewer crowds but different light for photos.
This guide helps you plan each phase. Fit climbers might reach the top in just 20 minutes. Others may take up to 90. Everyone agrees the view is worth the effort.
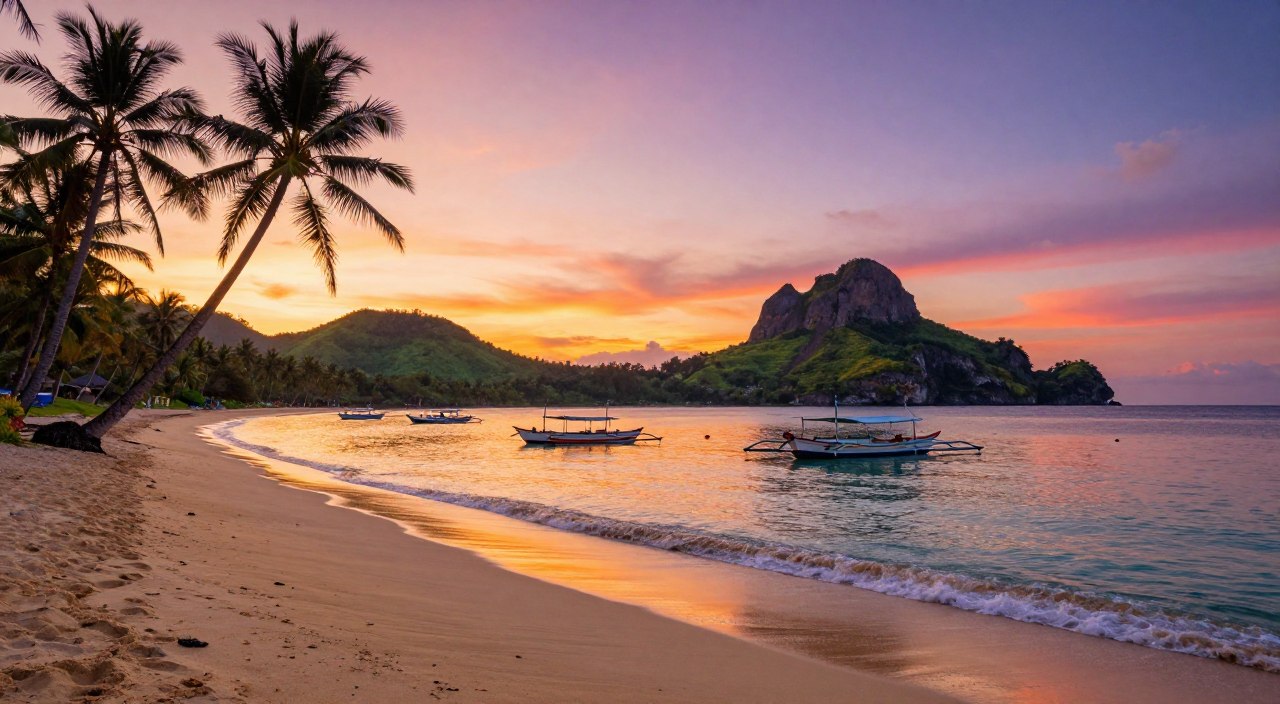
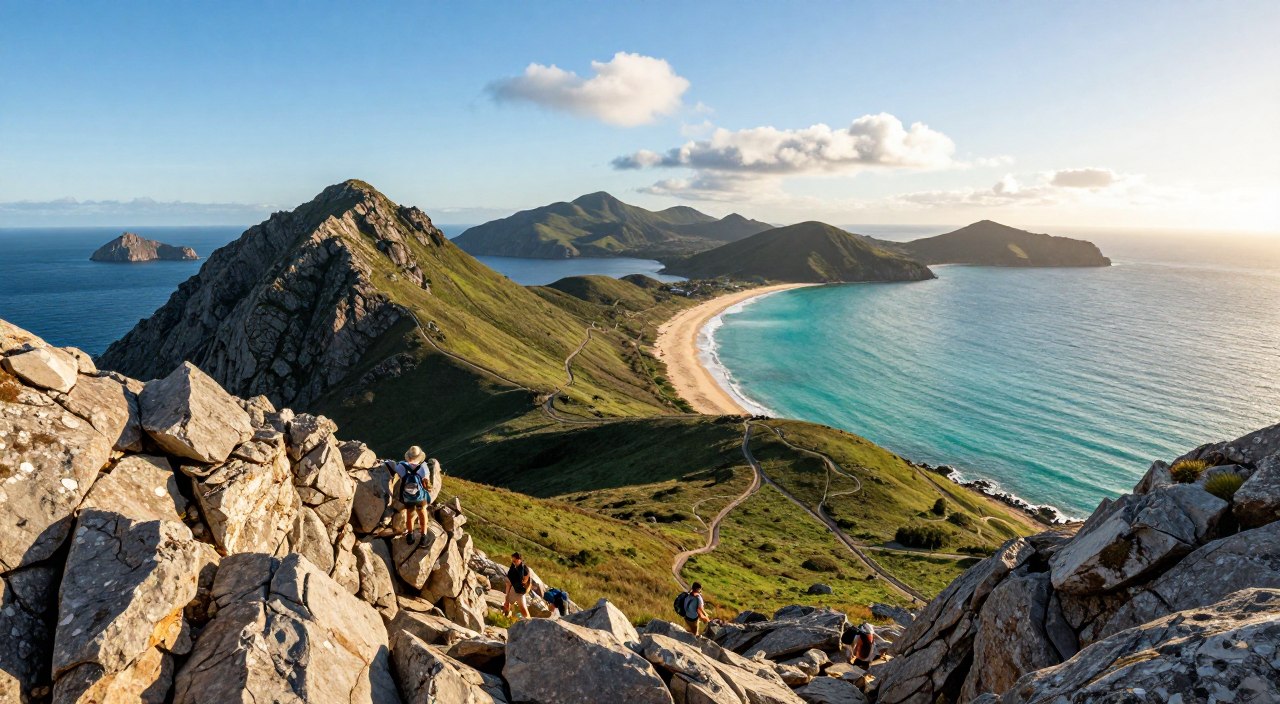
Exploring the Iconic Three Bays
Few landscapes on Earth showcase such a vivid display of coastal geology in one glance. The famous three bays form a distinctive trident shape that makes this location instantly recognisable.
Each cove presents a different coloured sand and unique origin story. This creates a stunning natural mosaic from the summit.
Geological Significance of the Three Distinct Beaches
The northern pink beach gets its hue from microscopic organisms called Foraminifera. Their red shells mix with crushed coral and white sand.
In contrast, the eastern bay features dark, volcanic sand. It comes from eroded basaltic lava flows. This black material absorbs much more heat.
The western beaches shine with brilliant white sand from coral and shells. This light substrate helps create the area’s brightest turquoise waters.

The configuration results from ancient volcanic rock resisting erosion. Softer materials wore away, carving the deep bays we see today.
Best Viewpoints for Iconic Island Photography
The premier views are from the narrow ridge at the trail’s end. This spot sits about 340 metres above the sea.
It offers a complete 360-degree panorama of all three bays. The dramatic drop-offs add a thrilling sense of exposure.
About halfway up, a rocky outcrop provides a secondary vantage point. From here, you can photograph four separate beaches.
The surrounding sea displays incredible colour gradation. Deep navy shifts to vibrant turquoise in the shallows.
Alternative spots along the ridge reveal different compositions. Some frames focus on two bays while including neighbouring islets.
Expert Tips for a Safe Ascent
Navigating the steep, exposed path to the legendary viewpoint demands careful preparation and awareness. The climb is a short but intense physical effort. Success hinges on smart gear choices and timing.
Sturdy Footwear and Hydration Essentials
Footwear is your most critical piece of gear. The trail mixes loose volcanic rock, dirt, and stone steps. Enclosed shoes with aggressive tread prevent slips and ankle twists.

Many people attempt this in sandals and struggle, especially on the descent. Hydration is equally vital. Carry at least one litre of water per person.
Humidity makes the hike a solid effort before sunrise. There are no facilities to refill. Crowd management is another key skill.
The trail gets extremely busy just before dawn. Dozens of people ascend the narrow path simultaneously. Aim to reach the summit 15-20 minutes early to secure a good spot.
| Focus Area | Primary Risk | Recommended Action |
|---|---|---|
| Footwear | Slips on loose rock | Wear sturdy, enclosed hiking shoes with deep tread |
| Hydration | Dehydration & heat stress | Carry 1.5L of water, drink regularly |
| Crowd Timing | Congestion on narrow trail | Start early, allow extra time for ascent |
| Trail Exposure | Falls from unguarded edges | Stay aware, avoid edges when taking photos |
| Wind Conditions | Instability at the exposed top | Secure tripods, brace against gusts |
The summit area can fit about 50-70 people comfortably. Popular tours may cause crowding. Be aware of your surroundings at all times.
There are no guardrails on the narrow ridge. Wind can be strong at the exposed top. Hiking with a buddy adds valuable safety.
Understand your physical limits before committing. The steep terrain makes evacuation difficult. A safe hike ensures you enjoy the incredible view from the top.
Conclusion
This remarkable journey offers more than just a trek; it’s a full sensory experience that engages all your senses. Our comprehensive guide has equipped you with essential details for a safe and rewarding adventure. From gear lists to advanced photography techniques, you are now thoroughly prepared.
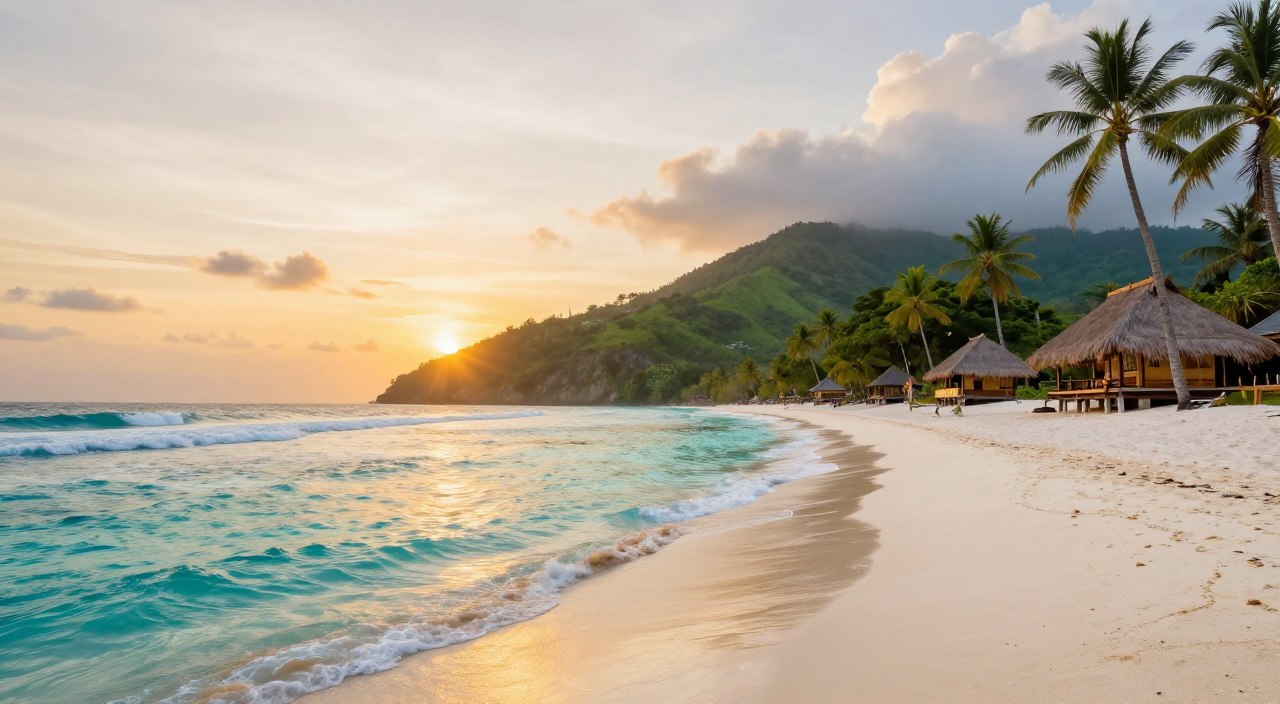
For the best time to visit Padar Island, plan your trip during the dry season from April to October. This period provides reliable weather. The famous sunrise light is optimal, though a sunset climb offers a beautiful alternative. Whether you choose a day trip from Labuan Bajo or a multi-day liveaboard, the iconic three-bay landscape will astonish you.
Beyond the summit, Padar Island and Komodo National Park offer dragon encounters and world-class snorkelling. This makes your journey a complete nature adventure. For Australian travellers, it’s an accessible and unforgettable highlight of Indonesia.